It is not a secret that I am a huge Iron Man fan.
I fulfilled myself a dream building my own Arc Reactor!
At the beginning I
designed all the parts in Adobe Illustrator. I cut them out of 2mm
thick acrylic with the help of a lasercutter. I am currently giving away
the plans in exchange for donations for my website! I am also giving
away a complete set of the lasercut parts in exchange
If you're looking for a demonstration video scroll down to the bottom of the page!
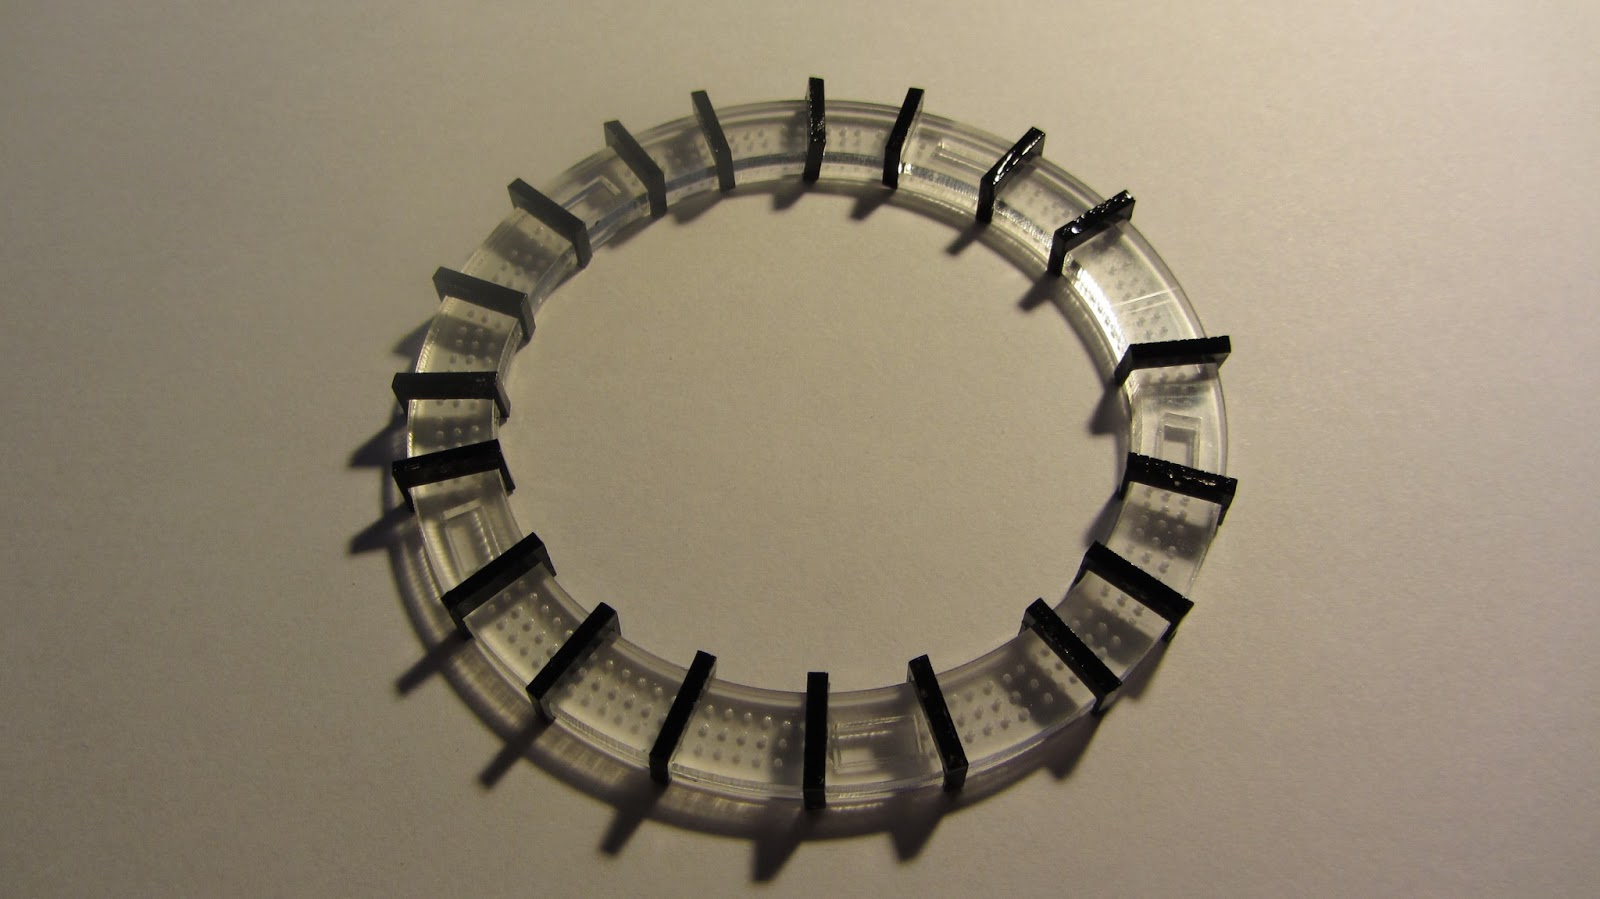
These are the basic components. I
etched a dot matrix onto some parts in order to disperse the led light
better. Most background lights have these dots on them. Add some nice
paint:
Clip together two of the outer rings with the spacers seen above in the left top corner:
Starts looking a bit more like an Arc Reactor from Iron Man, doesn't it?
Now I added the background plates for the reactor's coils.
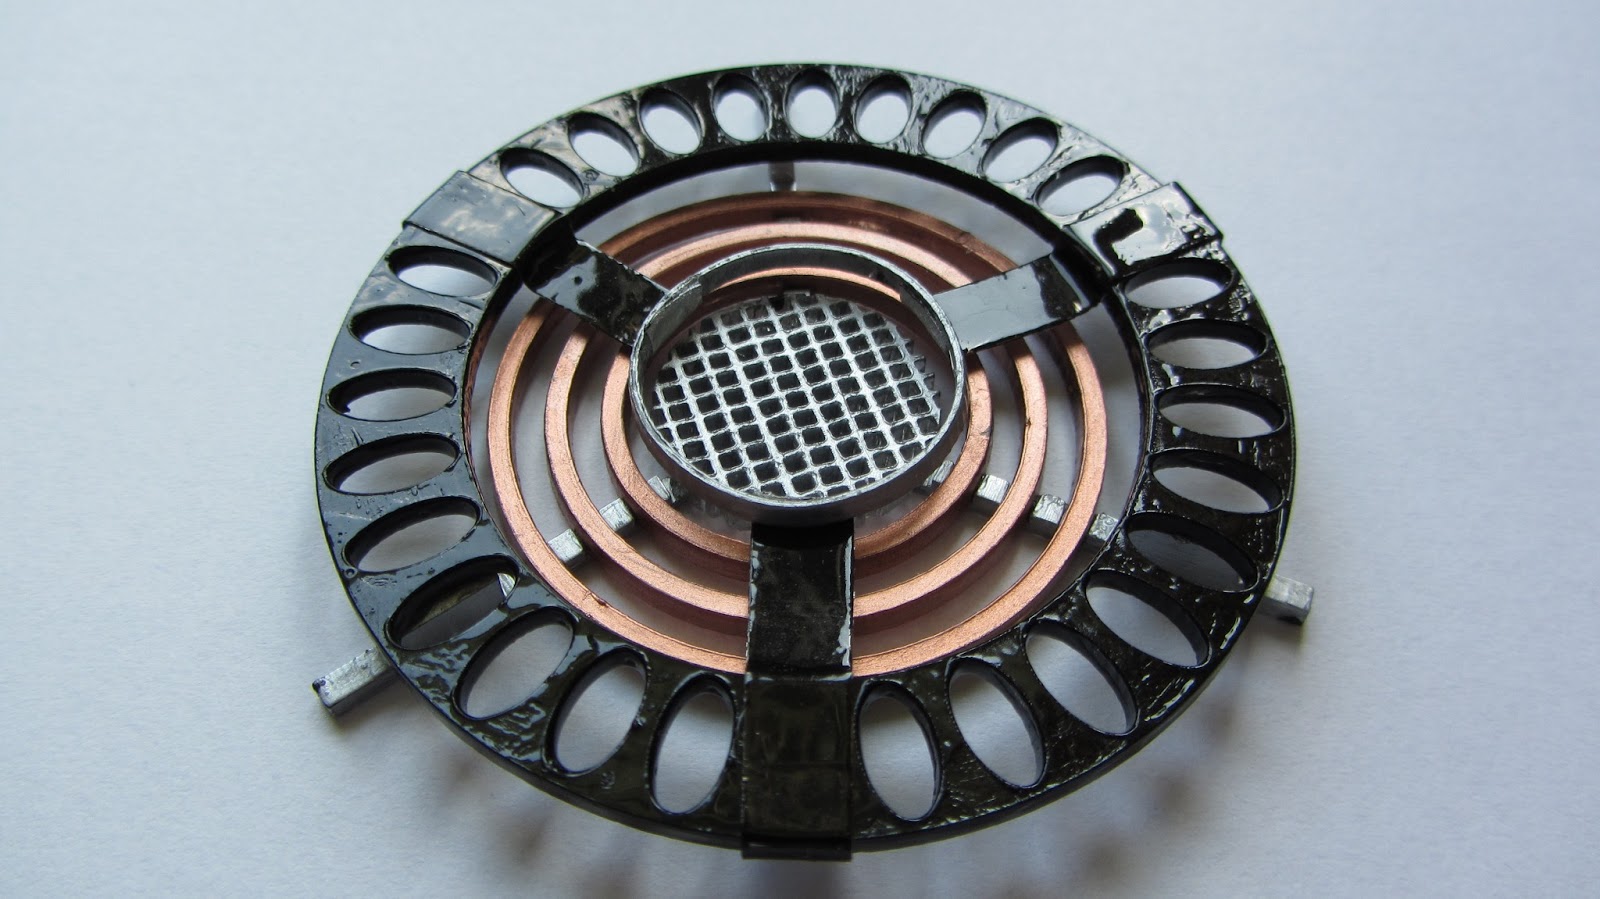
The Arc Reactor's core consits of three rings and the silver mesh:
With the help of some paint and aluminum a fourth ring is held right above the core.
Here you can see the Arc Reactor's inner parts fully assembled:
The next step was winding the coils! The wire I used for this task is coated 0,8 mm thick copper wire.
Additionally I added a layer of paper for better reflection of the blue Leds. There
are 10 coils on the Arc Reactor. 5 have blue Leds beneath them. I
inserted them through a little slot from bottom into the acrylic and
then wound the wire around it.
All Leds need some resistors! I
allways wired up two leds in parallel and added the right resistor. For
finishing the baseplate watch the video below. 5 Leds go into the ring
and 3 Leds go into the baseplate's spaces. Wire everything up, glue it
together and your homemade Iron Man Arc Reactor is ready for the next
costume party!


Tidak ada komentar:
Posting Komentar